Thursday 14 June 2012

RAIN, RAIN, GO AWAY!

I love a good rainy day every once and awhile! You know, to make everything fresh and green. I love the smell of rain and the sound of it falling. There is just something so very relaxing about it. It also gives me a real good excuse to do some scrappin! 
But this never ending rain that has been going on for days now, is just getting plain depressing!! And then add on the fact that I have been miserable with this cold/flu/allergy thing I got going on!! Needless to say, it's time for some sunshine already!! Besides, my jungle needs to be mowed!! I am scared that by the time I get the lawn cut, I will have lost one of my children in it!! LOL
I guess this is payback for the fabulous short, warm winter we had! (I would gladly take the rain over the never ending snow and 40 below temps anyday!)

Well enough whining about the weather. On to some much better things such as scrappin!! 

So I think previously I had posted about a surprise party that I had helped put together for my awesome friend Ivana, and I may have mentioned that I had made her a fabulous little card and forgot to take any decent pictures of it so that I could show it off! Oops! Well Ivana, being the amazing friend that she is, took some pictures of it for me, did some incredible editing work using photoshop (which I have yet to master!) and sent them to me! YYYAAYY!


For those of you who don't know Ivana, she is an incredibly special and talented gal! I am so grateful to have her in my life as one of my besties! You can click here to check out her blog!

I loved making this card!! 
I have to say I was quite proud of myself and how well it turned out! 
I used a variety of different "leftovers" from my stash. I started by making a card base from a 5x7 piece of chipboard and covering one side of it (which would end up being the inside of the card) with a pattern paper (I believe it was a Pink Paislee PP). I then created the wrap around piece using a clear transparency. I traced a scalloped edge on both sides that folded in and then smudged a layer of watered-down white paint to give it a more faded, vintage, shabby chic look.


I fussy cut a bunch of paper embellishments for the front and layered them on. And by having the paint smudged on, the adhesive I used for the paper embellishments really didn't show through the other side. I then just used a white sheer ribbon to hold the card closed.


After having wrapped the ribbon around, I then adhered another piece of the pattern paper to the back. This covered the ribbon to hold it in place and it also hid any adhesive I had used to adhere the inside chipboard piece to the transparency. I then folded a white paper doily over the top so that half was adhered to the front and the other half to the back. 
Because I didn't leave alot of space on the inside of the card for everyone to write there sentiments and best wishes (there were quite a few of us that went in together to purchase Ivana a gift card), I came up with the idea that everyone would get a small little journaling card to write there sentiments on. I then attached a cute clothespin to the back and clipped the journaling cards to it.


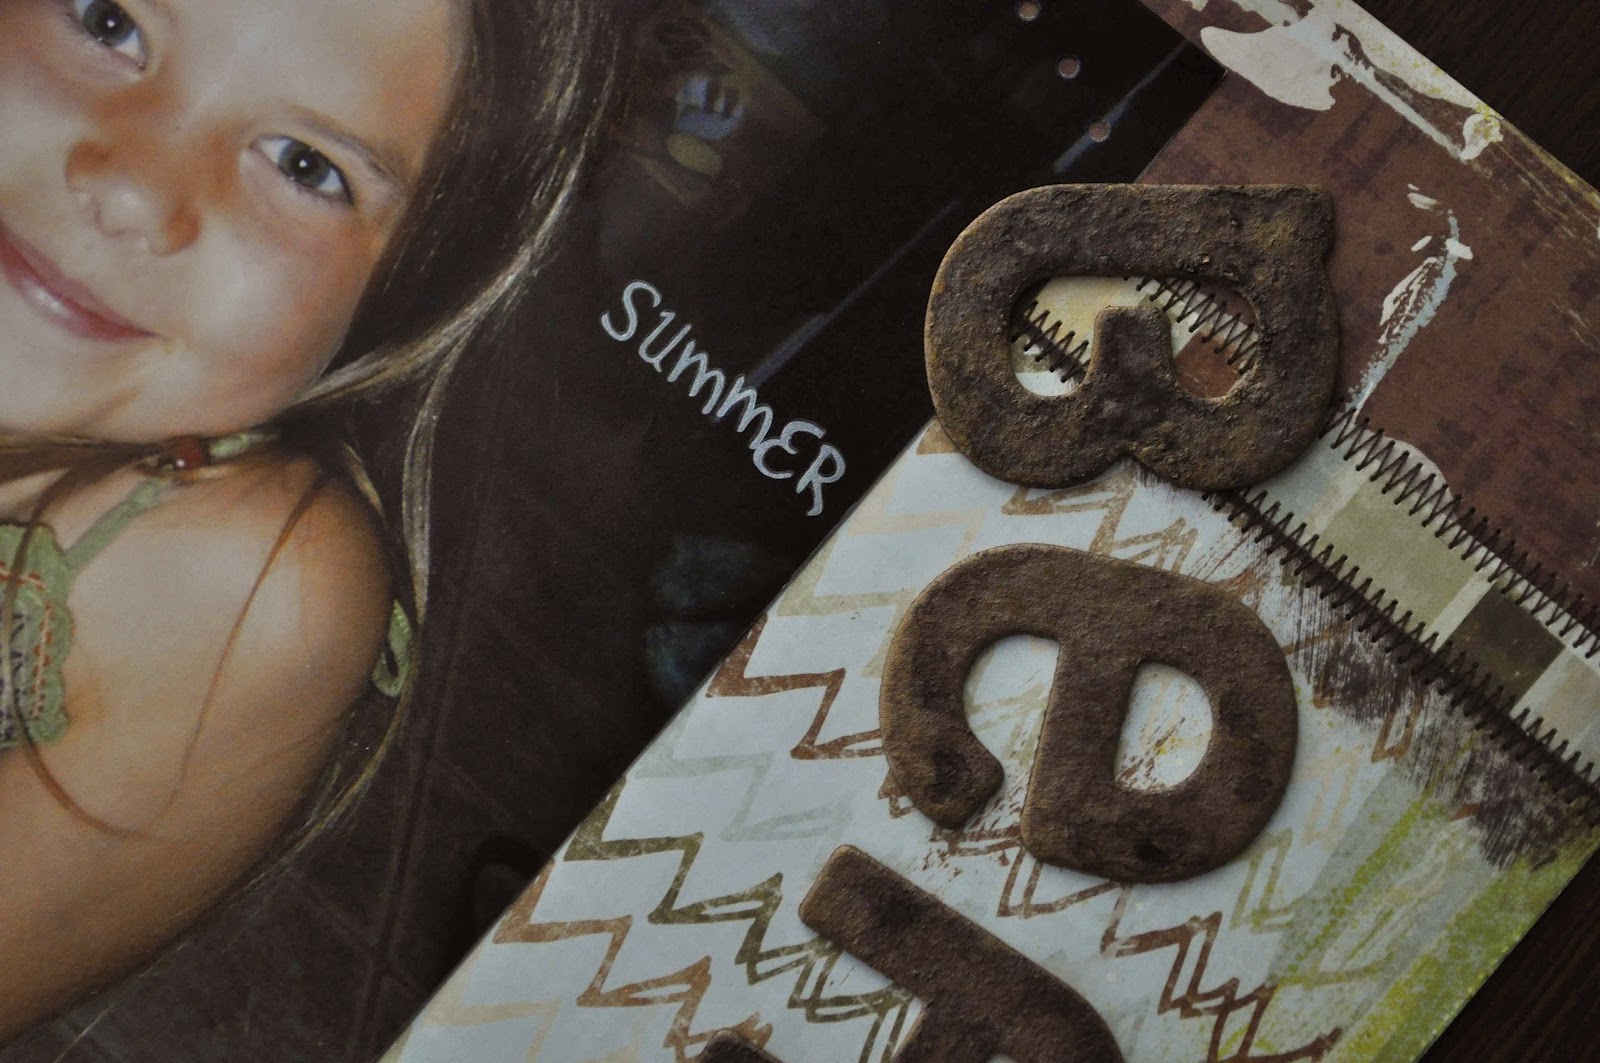
For the inside of the card, I colored and then adhered chipboard letters onto the doily to spell Ivana's name. Canvas Corp has these fantastically cute, little mini paper bags that I decorated, with more little fussy cut paper embellishments and adhered to the inside of the card to place the gift card I had purchased.

Well I am off now to try and create a man card for my husband for Father's day this weekend! Enjoy the rest of your week!!

Tuesday 12 June 2012

Why Does This Have To Mean War!!

Good Morning Everyone! I sure hope your day started off better than mine! If any of you have or had a teenage daughter you might understand what I mean! 

First I must apologize for not having posted in awhile! It seems that whatever kind of bug that has been passing through got a hold of me and it's been kickin my butt hardcore! After having lost my voice for most of last week (which my family and friends got a kick out of! LOL), this cold then moved onto the rest of my body and did it's thing! Yyyyaayyy! NOT! And then when I thought I was getting better, I woke yesterday morning with the worst migraine I have had in a long time! I literally couldn't move off the couch. This however resulted in my daughters attitude which is why this morning was all out war! 

So this morning when I woke up and was feeling much better (with just a bit of a migraine hangover), I felt my daughter needed to understand that she couldn't get away with the way she had treated me and my son yesterday and that there was going to be consequences. And I am sure you can all guess how well she reacted to that. Needless to say, she is grounded and non to happy about that! Thankfully she is at school for the rest of the day and the war can have a rest for a bit.

Now I know that you all know that even though our children can bring out the absolute worst in us at times, they can also bring out the absolute best in us too! So I decided that today was a good day to look back on those good days and just remember why I love my kids so darn much!


This is a layout that I had done when my daughter was 8 (She's almost 13 now!) and she was such a beauty! And she still is of course, but with a bit of attitude to go along with it!

 I look at this layout now and want to chuckle a little. I can't even remember what company the paper was from. LOL. I know it was when Glimmer Mist was first coming out because I was so excited about how the letters turned out for my title.


I was also excited because I got to use this cool new Crafters Workshop template that I had purchased. It was great for creating the circle of dots I have in this layout. It was a 12x12 template that had a range of different sized circles. Click HERE to check it out! (You will have to scroll down to see the template. It is called "Dots All Around") I have actually used this template quite a bit. It works great for placing all sorts of embellishments in a circle pattern, such as liquid pearls, rhinestones, brads, eyelets, buttons, etc.


For the title I had used Basic Grey chipboard letters and Glimmer Misted the heck outta them! LOL! I can't remember the colors I used, sorry! But the more layers I put on, the more textured it got and the end result was great! (Actually, now that I'm thinking on it, I may have used a gold paint dabber on the letters first before misting them.) I also used a stitched pattern rub on to get that look of having sewn on the page without actually having had to pull out my sewing machine. Because lets face it! I never would have thought to do that back then! Lol!

  This layout was not my first layout but it did mark the time when I was starting to branch our from just sticking down my pictures and adding a sticker or too! (EEK!) And from then on I was all about trying new products and putting more into my layouts. I love the look of dimension on my pages and using different products to add texture. It just adds more fun and creativity to my layouts. 

Just like how my daughter adds more interest to my life and keeps me on my toes! :D

The Great Outdoors...

Hi Friends! Just trying out this blogging thing again! :D I wanted to share some layouts I did this past weekend while attending a fu...