Saturday, 25 October 2014

It's a "Spook-tacular" Blog Hop!!!!


Well if you have arrived here from Jody's Blog for this awesome Halloween Blog hop, then you have come from the right place! If you want to start from the beginning head HERE first then come on back! At the end of my post there will be a list of all the links in order for the hop!

I always have mixed emotions when the end of October comes! On the one hand, I hate that winter is just around the corner and that the snow will be coming at any moment, because I really dislike being cold. But on the other hand, I love Halloween! It is so much fun helping my kids get all dressed up in their costumes! This year I am a little sad though because I think my oldest has decided not to dress up! (Wahhhhh! I'm not ready!)
She was the one that always had awesome costume ideas!


These were the last two year's costumes. They were great!

Well with the move to Calgary I get to be close to my other teenage daughter Abby! And she is still in to dressing up and going out. So I can help her go all out! Yyyyaaayyyy!!!

This year I also decided to decorate my house for the first time and do up some Halloween projects! I was quite excited! I have a couple of special little trick'r treaters coming to my door this year, so I decided to make them something special!


This first project is a paper "treat" bag. Pretty simple project that I made by cutting pieces of black, purple and orange cardstock that fit the front of the bag. I find that paper bags vary by company in sizes, so you just have to measure your bags to get the measurements. I used a border punch on the edges of the purple piece and ran the orange piece through my Cuttlebug to give it an embossed textured. The embossing folder I used was by Cuttlebug and was called Spots & Dots

To make the cute little characters, I first stamped the images using stamps I purchased years ago from Micheals onto white cardstock and then colored them in using good old Crayola pencil crayons! (And by the way, I am not convinced that the little dracula looks right in purple! I was originally going to leave him with a white face but that didn't look right either!) I then cut them out and adhered them to the front of the bag. I then stamped the sentiment onto a white cardstock strip, colored it and cut the end to form the banner.

To finish everything off, I used my fine tip black sharpie to draw stitching, punched some holes through the top of the bag (that was folded over) and added some ribbon & fibers to hold the bag closed! Now all I have to do is fill the bag with some goodies and hand it over to one sweet little girl!

Most of you know I LOVE PINTEREST!!! And when I saw these next couple of things, I had to try them...


Of course I don't know about you, but whenever I try to do something that I see on Pinterest, it rarely looks the same! This was no exception. I think because I tried to use chocolate bars that I knew the person I was giving them to was going to like, but the wrappers just didn't look the greatest! One way to fix this I think, is to wrap the bars in cardstock before wrapping it with the crepe streamer paper (which is what I used). They are still cute and it's still chocolate, so score all around!
 You can check out the website HERE to see where I got my inspiration.


 These next cute little treat bags were totally copied from HERE! I'm not ashamed to say I am not always original! Lol!

I just loved these little guys! They are soooooo super adorable! I did improvise alittle because I don't have a couple of the tools she used.


To make the tops, the original used a Stampin Up! punch (which would have made it super easy and quick), but my way worked too! I used some of my dies and followed THIS tutorial. I measured the width of my die and cut a piece of cardstock to the same width and a length of 8.5". I cut both ends using the die and then scored at 4.5" from each end. (You could also score before you punch the ends, it doesn't matter which order you do that step.) 


To draw the white mouth and eye dots, I used the Sharpie water-based paint marker which I love, love love! Just don't shake it with the lid off! Lol! 

In the original, she only used a small piece of candy on the bottom. But that is no fun, so I filled little baggies and stapled them in when I folded the two sided up!

 Check out my Halloween Ideas board for more great ideas.

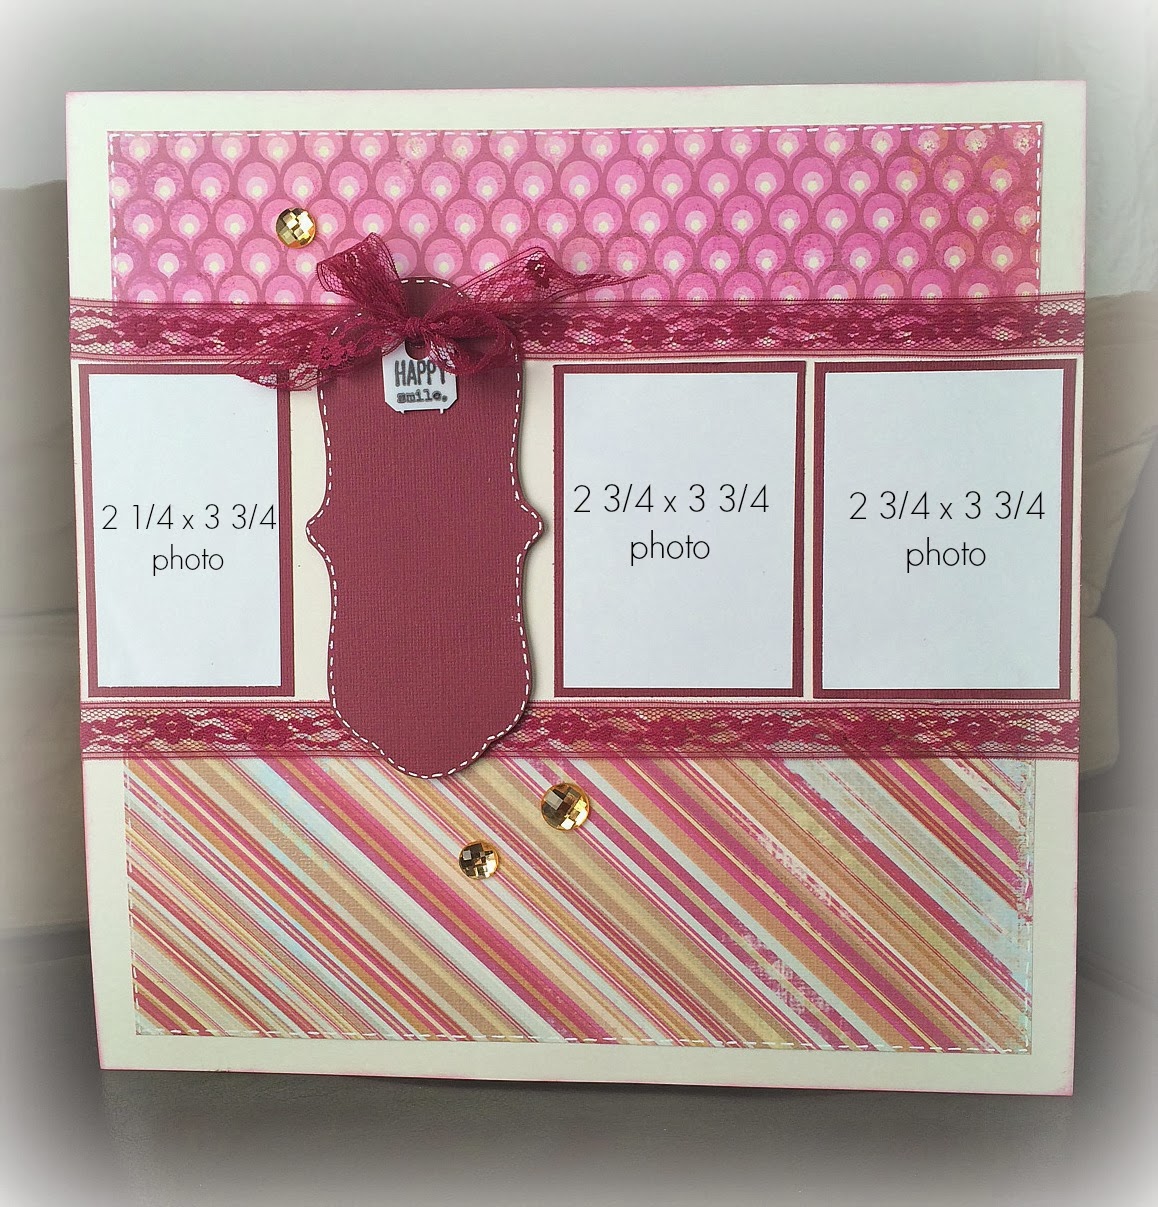
Here is a quick layout I did up...


I used an older line from Echo Park called Apothecary Emporium mixed with some stickers from Chillingsworth Manor.


It is hard to tell in the picture, but I used lots of 3L foam adhesive to give dimension to the elements on the page. I also added a metal skull and cross bones embellishment that I've held onto for years, just waiting for that perfect project. I'm sure you wouldn't know what that's like! Lol!


And lastly, a banner I made that will be proudly displayed in my house for a little halloween get together I'll be having! :D


Ignore the desperate screams for re-staining by my deck rails!

Thanks for stopping in! Let me know what you think, I would love to hear your comments!
Happy Halloween everyone!
~Cayla~

Next head on over to Tracy's Blog and check out her super cute canvas and be sure to check out the other lovely lady's blogs as well!!

Stop #2: Cayla's Crafty Corner (That's Me!)
Stop #3: My Crazy Life
Stop #4: Crafty Carlye


Monday, 15 September 2014

Yaaayyyyyy For New Friends!

REVISED!!

I can't believe it's the middle of September already! It seems my family and I have been on many adventures in the past few months and they have flown by! We have all settled in nicely (including the nasty little skunk under the front step) and we are loving the new house! The kids have all started their new schools and despite the rough start my oldest daughter Danielle had into high school, she is slowly starting to make friends and enjoy it (although she will never admit it! Lol!)

Abby getting ready to take on T-Rex at the Calgary Zoo

Family pic (minus a kid) - best we are going to get! Lol!

Lovely Abby!

Water wars at Calaway Park!

Drowned Rats (Danielle, her friend Kim, Abby and the girls half sister Isabel)

All that whipping hair is Danielle & her friend Kim. I now know why there are chiropractors!

Danielle showing off her ropin' skills at the Calgary Corn Mazes! 

Sam photo bombing my selfie!

I have also started to make some new crafty friends!
But don't worry Saskatoon, I could never replace you! You will always be my first! My heart is big enough for you all! And by the way, Congrats Lori on THINK PINK #5! I was very sad to have missed it this year but it sounds like it was a huge success! My Lovely friend Theresa made sure my hand-self made an appearance for pics! Lol!

Theresa, Lori & Hand Cayla

Even though I was unable to go to the crop in Delmany, I did get invited to another event here in Calgary by a friend of mine. It was a Stampin Up Bingo Night put on by Allison Okamitsu who is a very lovely Stampin up demonstrator! You can check out her blog HERE. I had a very lovely time on Friday night, so much so that I went back on Sunday afternoon to check out her monthly club group! Nothing like forcing myself into the local crafty community! Lol! It was a very warm and inviting atmosphere! It reminded me of all you lovely crafty people back in Saskatoon and of all the fun events at the studio! That's the best part about the crafty community, it's like being apart of a warm & welcoming family!

Now I haven't gotten to the best part yet!
I had lucky horseshoes stuck somewhere cause I just happened to have won the mother of all prizes on Friday night! With my one little Bingo card I won over $200 worth of Stampin up goodies!
The first half of the prize was a package of the Stampin Up line called All Is Calm. This package included:
 All Is Calm Specialty Designer Series Paper
All Is Calm Snowflake Embellishments
All Is Calm Designer Washi Tape
Frosted Sequins Embellishments
Lost Lagoon Silky Taffeta Ribbon
On Point Textured Impressions Embossing Folder
Letterpress Winter Clear Stamp Set
Wintertime Wood Stamp Set
Good Greetings Cling Stamp Set

Plus when I had with my registration fee I had already received the Holiday Cheer Project Life Clear Stamp Set and a package of cardstock for cardmaking!

So then the second part of the grand prize was that I got to spend over $100 on an order from the Stampin' Up! Catalogue!!!!  When Allison told me that part I nearly got up and hugged her! Lol!
 I was almost afraid I was going to get boo'ed out of the room though! Here comes this new girl and she takes home the best prize! Way-da-go Cayla, that's how you make new friends! Well atleast they won't forget me, right? Lol!


Isn't it all lovely!
In the last year I have not had a whole lot of time to be creative as some of you may know. I went back to school last September and studied my butt off for 10 months, then with the move and getting my kids settled, there just hasn't been alot of crafty time! So of course when I brought all this crafty goodness home with me I just HAD to play with it! Right? Right! So this is what I made...


What I used:
SU All Is Calm Specialty Designer Paper
SU All Is Calm Designer Washi Tape
 SU Letterpress Winter Clear Stamp Set
Jet Black StazOn Ink
Iced Spruce Distress Ink
Silver Stickles
3L Foam Adhesive
3L EZ Runner
Tombow Mono Liquid Glue
Misc White Embossing Thread

For this card I used a 5.5" x 8.5" piece of white card stock (folded in half) and covered the front with a 4.25" x 5.5" pce of pattern from the pkg of paper I got. I stamped the "Season's Greetings" sentiment using Iced Spruce Distress ink and the fancy border using Jet Black StazOn ink. I added some Silver Stickles glitter accents to the fancy border (sorry, it's hard to tell in the pic.) I fussy cut out the sentiment piece and used 3L Foam Adhesive to adhere it to the card front. I stuck strips of the washi tape to the top and bottom edges of the card and then tied some plain white embossing thread several times around the top of the card.  To add some security to the bow I put a dab of Tombow liquid glue behind the knot to hold it down.


What I Used:
SU All Is Calm Designer Washi Tape
SU Frosted Sequin Embellishments
  SU Holiday Cheer Clear Stamp Set
SU Lost Lagoon Silky Taffeta Ribbon
Broken China Distress Ink
Tombow Mono Liquid Glue
Bonefolder

This card is made from a piece of 4.25" x 11" Kraft cardstock (folded in half.) I stamped the border along the left side using Broken China Distress ink then tore strips of washi tape to stick to the card. I tied the bow using the lovely Lost Lagoon ribbon I got and adhered it using Tombow liquid glue. I also used the Tombow liquid glue to adhere the snowflake sequins. I then stamped the sentiment using the Broken China Distress ink. Easy Peasy!!

Tip: I find that sometimes washi tapes don't always stay stuck down. So I find it helpful to take my bonefolder and press it over the washi tape. 


What I Used:
SU All Is Calm Specialty Designer Paper
SU Wintertime Wood Stamp
SU Frosted Sequins Embellishments
Broken China Distress Ink
White Cardstock (Staples)
3L EZ Runner
Tombow Mono Liquid Glue
Sakura Silver Star Gelly Rolly (gel pen)

I used a 5.5" x 8.5" white cardstock piece for this card (folded in half) and cut a piece of pattern paper that is 5.25" x 4" and adhered it to the front. I then cut a piece of white cardstock that is 5" x 3.75" and adhered this to the front and drew on my stitches with the silver gel pen. I stamped the sentiment with the Broken China Distress ink and adhered the sequins with the Tombow adhesive. Another super easy card done!

Tip: To add a little something more to this card, I might see if I have some matching blue beads I could adhere to the centers of the sequins!


What I Used:
SU All Is Calm Specialty Designer Papers
SU Holiday Cheer Clear Stamp Set
SU Mosaic Madness Wood Stamp Set
SU Mosaic Shape Punch
SU Good Greetings Cling Stamp Set
Martha Stewart Border Punch
Broken China Distress Ink
Shabby Shutters Distress Ink
Jet Black StazOn Ink
Tombow Mono Liquid Glue
3L EZ Runner
3L Foam Adhesive
White Cardstock (Staples)
Misc Jute Twine

So this card as you can see has a little more to it and is a little larger than the rest. First I cut a piece of pattern paper that is 12" x 6" and folded it in half. On the inside (which you can't see) I cut a piece of white cardstock that is 5.75" x 5.75" and adhered it. This will give me something to write on. Next I cut another piece of pattern paper that is 5.75" x 5.75" and roughed up the edges a bit with my scissors (or you could use a paper distresser if you've got one). I then adhered this to my card front. I cut another pattern paper piece that is 2" x 6" and used the border punch along the one edge. I then adhered the piece to the card using the foam adhesive for dimension. I cut a 0.25" x 6" piece from white cardstock and stamped the border using Shabby Shutters Distress ink and adhered it to the card. To make the ornament, I stamped one of the Mosaic stamps 6 times onto white cardstock using Broken China Distress ink (use 3 Mosaic stamps per ornament.) Cut out each stamped image (or use the coordinating punch like I did) and fold them exactly in half length wise. You are then going to put glue on half of the back of one of them and stick it to a half of another. (gosh that's confusing! Hopefully the pics below will make more sense!) In the end you will have three stuck together.


Step 1: Fold 3 ornaments in half
Step 2: Put glue on the back of one but only on half of it
Step 3: Stick to another ornament piece
Step 4: Put glue on the back half of ornament
Step 5: Adhere third ornament piece
Step 6: Put glue on the entire back of ornament and adhere to card

Repeat for second ornament.

revised: I actually found a quick little video that shows a similar technique that may help you understand what I was trying to do with this card, incase you weren't following what I was trying to explain. :D
https://www.youtube.com/watch?v=3j7oqn2d8jQ


So after I had my ornaments adhered to my card, I tied bows in my twine and adhered them to my card with the Tombow glue. I them stamped my sentiment using Jet Black StazOn ink.

So ya, this card was a little more work but the dimension, it turned out to be super cute!

So those were the cards I made using the awesome Stampin Up goodies I got on Friday. I also wanted to give you a quick look at a couple of other cute cards I created last week.
In Calgary we had some horrible weather and got completely dumped on by snow. I wanted to cry and pack up my family and come running back to Saskatoon. But it made me think of Christmas and how maybe this year I could for once be prepared! So I created some more lovely Christmas cards!


Thanks for stoppin by!
~Cayla~

Friday, 25 July 2014

Changes...

Happy Friday everyone!

Well it's been awhile, I know, but I have had alot happen in the last 10 months! 

In September (2013), as you may know, I went back to school to become a Pharmacy Technician. Well I have finally completed the course and graduated! Wahoooooo! That was probably the longest 10 months of my life and the hardest too! In my opinion, being a parent is way easier then that course was! Lol! But I survived and am quite proud of myself for sticking to it! I met so many great people in the course and already miss them all!


Another great adventure that my family has taken has been to pack up our lives and move! Not only did we switch houses, but also cities and provinces! We are now living in our beautiful new home in Calgary, Alberta! It was an exciting and terrifying decision to make but so far it has felt like the right one! Oh, and having a moving company come and do all the hard work... best decision EVER! :D

Now since moving and being an unemployed bum (have to write some extra exams in order to work in AB), I find that I have some spare time! What does this mean?... More time to scrap! Yippppeeeeee! 

This first layout I did was inspired by a layout I saw on Pinterest
Click HERE to see the original.


This layout was created using pattern papers from Simple Stories (various collections), tissue paper, a chipboard polaroid piece from Maya Road, word stickers from Authentique, various sized circle punches and a Sharpie white paint pen (which is my newest fave white pen!)


And another layout inspired by Pinterest
Click HERE to see the original.


This layout was made using an Authentique line called GRACE.  I also used various flowers from my stash, a Kaiser wood word title, a Fiskars border punch and some My Minds Eye washi tape.


Thanks for stopping by!
~Cayla~

Sunday, 9 March 2014

Another Successful Event!

So due to the fact that I am moving to Calgary in July, I realized that my annual Burn Fund crop was just not going to happen this year! Boooooooo! But what was I supposed to do with all the goodies I had been collecting for the crop?

I decided to host an online auction this past Friday & Saturday and it was a HUGE success! With a couple days prep, I had everything photographed and ready to upload! Because I had already started an event on Facebook, I decided that that would be the best place to hold my auction. So by 4pm on Friday, I had uploaded photos of 30+ prizes and the bidding wars began!

I must say I wasn't quite sure what to expect from this little online auction, so I set my expectations at around $500. Well I should have known that my scrappy pals would blow right past that dollar mark! It is always so inspiring to see the generosity in others! Makes me so proud to be a part of such a caring community!

The 24-hours that the auction lasted was the funnest I had had in a while! I had a few "LOL" moments as I watched all the friendly competition unfold! :D It was quite difficult to step away from the action and attend to homework! My husband sent me a few glares and tried to pry me away from the computer but I just had to watch it all! :D

Anyway, the auction came and went and I was able to raise just over $1100!!! Wahoooooooo! I'm quite excited to give the guys at the fire hall a call and tell them!

Along with all the items I was auctioning off, I also put together 30 lootbags which I sold. For those of you that purchased the lootbags, here is a sample of the mini project that was included as well as the template for making the envelope.


Also, here are a few example layouts I did up using some of the papers that you may have found in your lootbags. Sorry, I only had enough time to put a picture on one of the layouts. :(


To make these layouts, I used sketches from the Page Maps website. This is a fantastic place to find inspiration for your layouts! To go to the Page Maps website click HERE. Once you are on the home page, you can click at the top on "pagemaps" and you will be taken to a page with every month and year. Click on a month and you will then be taken to a page that shows a page map and an example that goes with it. It is the handiest thing ever!

You can also click on the "pdf archives" found on the right side of the screen on the home page. This takes you to the same menu type deal where you can select a month. Once you select a month it will take you to a page that is filled with page maps. You can then print that pdf which is also super handy for taking to crops and such! This is what I used to do my layouts.


Thank you once again to all you lovely ladies that supported this event! It would not have been such a huge success without you!!

Enjoy this fabulous weather!
~ Cayla ~

Monday, 17 February 2014

It's me!!

Wow! Could it be? Could I have actually found some time to post?? Yup! I should be studying for an exam I am taking tomorrow, but whatever! LOL!

For those of you that have been wondering whatever happened to me, I started a full time program at the local college. And like a good, diligent student, I have done nothing but eat, sleep and breath my studies!

Nope, there has been no time to do the things I love, which is mostly just scrapbooking! But I decided that this weekend, since there was an extra day off, that I would devote a day to me! YYYAAAYYYYY! So I went to the store and spent the day scrappin with my bestest buddy Theresa! 

I don't have much time, like I said gotta go study!! I just wanted to write a quick post and show you that I was still alive and maybe share the couple pages I got completed on Saturday.


For those of you that have today off for Family Day, enjoy your time off!! Maybe since the weather here is super fantastic, I'll take some time to go out!

~ Cayla ~

Wednesday, 19 June 2013

The countdown is on....

Well my kids are eagerly counting down the days until summer break starts! 
Even though it will be a bitter sweet moment for my daughter, as she will be heading off to high school next fall, she is still anxious to be done for the summer!
I'm just looking forward to spending some daytime with the kids, not having to worry about getting up for school in the morning and not having to make school lunches! :D

Well to pass the time until that last school bell rings, I have been doing a little scrapbooking with some of the new papers we have been getting in at the store. And thanks to the newest team member at the store, Sandra, I also now have a little more time as well! :D


This first layout it using the "On This Day" collection by Kaiser Crafts. It is a gorgeous line and this is the 4th layout I have done with the papers. Actually, this layout was done with nothing but the leftover scraps from the first 3 layouts I did. 
I wanted to take pictures of those layouts and put them on the blog as well but they are at the store. So as soon as I can steal them back for a day, I will put them on here.
 

 I am currently working on 4 different wedding albums and this paper was just perfect for this picture of my girls dad and his new wife. They had a beautiful wedding in Germany and my girls were so lucky to have been able to go and help them celebrate!


These next few layouts were created using the "Sunshine In My Soul" line by 
I am a huge fan of the colors in this line! I found they worked really well with these pictures of both my son and daughter!


I am not normally a sticker person, but this time I decided to buy the 12x12 sticker sheet that went with this line. I have to say, it was the right decision. I used up almost the entire sheet!!!
 

I also purchased a roll of My Minds Eye Decorative Tape in a striped grey color and it was the perfect accent for these pages!


 For this page of my daughter, I used one of the papers as a background that had a little bird on it. I cut out the bird a little so that I could tuck my photo behind and not take away from the pattern. I then used a small strip of the polka dot pattern and the rest are stickers from the sticker sheet! Easy, breezy! :D


 This last layout was also very simple to put together thanks to those stickers! I just used a square of the polka dot paper under the photo, cut strips to make banners and added a small strip of pattern paper from Echo Park to bring out the blue in my daughters tank top. I dug into my border punch stash and made the strip more decorative and used pop-dots to add dimension.


These photos were taken by Amanda Lepage with Photos Etcetera and they are by far some of my most favorite photos! So if you are in the market for a photographer, be sure to check out her site HERE!
Also be sure to stop by the store for a closer look at these layouts and to see the other 3 layouts I created with the Kaiser Crafts paper.

Enjoy the rest of your week!
~Cayla~

The Great Outdoors...

Hi Friends! Just trying out this blogging thing again! :D I wanted to share some layouts I did this past weekend while attending a fu...