Monday, 30 July 2012

FUNDRAISING SUCCESS!

Good Morning!
Well it's Monday morning and my kids have returned after two weeks of silence and clean! I have to say it's a bit of a shock to my system! I mean I missed them and all, but having a clean house for longer then 24 hours was nice!!

Well this past weekend was a huge success for our fundraiser for the Saskatchewan Burn Fund! With over 30 ladies joining us at the store, it was a crazy & fun time!! I want to thank you all for coming and helping us support this great cause! Here are just a couple pics of the event!


A huge thank you to some very generous people and businesses for donating some great prizes!


A croproom full of fun!


A very sweet, funny and entertaining lady!! Thank you Lana for coming!


Jennifer cracking the whip!! Making sure everyone stays in line!!! LOL


Of course the husbands would stick around to make sure us wives behaved ourselves infront of the Firefighters!!! LOL!


Lana with the Firefighter that is featured on the cover of the calendar!!! 


My nephew got to sit up in the fire truck! He was so happy there and did not want to get out!! 


The Firefighters doing a "Fire Demo" with MY BBQ!


The Staff!! (Jennifer, Me and Laura)

Thanks once again to everyone for coming!! With your support we were able to raise almost $2000!!!!! Way to go!!

Monday, 23 July 2012

SUPPORTING A CAUSE...

Hi all! I just wanted to put a quick little post on to let you know about the event that will be happening at the STORE to raise funds for the Saskatchewan Burn Fund this Friday and Saturday! All details can be found by clicking HERE or by calling the SCRAPBOOK STUDIO.

It is sure to be a fabulous time and we hope you can come to help support such a great cause.

That's all for now!
 :D

Wednesday, 18 July 2012

MY TAKE

For this week I am completely kid free!! Wahooo!! 
With my daughters in Calgary with their dad and my son spending a week with Grandma, I have so much freedom that I am not sure quite what to do with it! 
Hahaha,  that's so not true! My list is endless with stuff I could be getting done without the constant craziness of a house full of kids! But who the heck wants to do housework and chores when I could be doing things like wasting my morning dying my hair, shaving my legs and scrapbooking!! Which is exactly what I did, without a single interruption!!!! Oh I could so get used to this!

So this is a layout I finished this morning using the new Simple Stories "AWESO[ME]" line!
I will absolutely admit to being a scrap-lifter!! I could not scrapbook without the help of magazines, Google, Pinterest and all of my super talented scrappy friends! Don't get me wrong, I have my moments of creative genius without the help of my inspirations! But for the most part it is nice to have resources to look upon and help get the creative mojo going! The majority of the time my projects don't even turn out to look anything like the original and sometimes they do!

 So with this post I decided to just fess up and show you how I get it done!
I started with my photo and finding the best paper to go with the photo. I then grabbed some magazines and started flipping through until I found something that I liked!

For instants, this is the layout that I chose for a picture of my super cutie nephew! This layout can be found on page 76 of Scrapbook Etc's very last issue (BOOOOO!!!! I will miss you Scrapbook Etc!!!). 
What caught my eye the most about this layout is the super plain background with all the color kind of centered in the middle and of course the cute banners! (I love banners!)


And now here is my version of the layout!! 
This is one of those times where my layout pretty much looks like the original and I am ok with that! I would never try to pass off anything that I had copied as my own either (I will do a better job at trying to give credit where credit is due in my next posts)! People work hard to be creative and original and they deserve the credit! If it wasn't for them, I would take forever to scrapbook a single layout! Lol!


Now in the original, buttons, twine and other embellishments were added, but this is why I love Simple Stories papers! Everything you need to scrapbook a page can be found on all their papers! I think this is why they never go overboard on creating all the extras that most companies put out with their paper lines. Don't get me wrong, sometimes you just need that different texture of buttons and stickers and other embellishments. But Everything on this particular layout was created by cutting out bits and pieces from the pattern papers.


The only thing that I added that was not paper was the brown border I traced around some of the edges and the inking I did on most of the edges. I used pop-dots to add dimension as well!


Now I'm off to do more of nothing and enjoy the silence of my house!!
Thanks for stopping by!


Monday, 9 July 2012

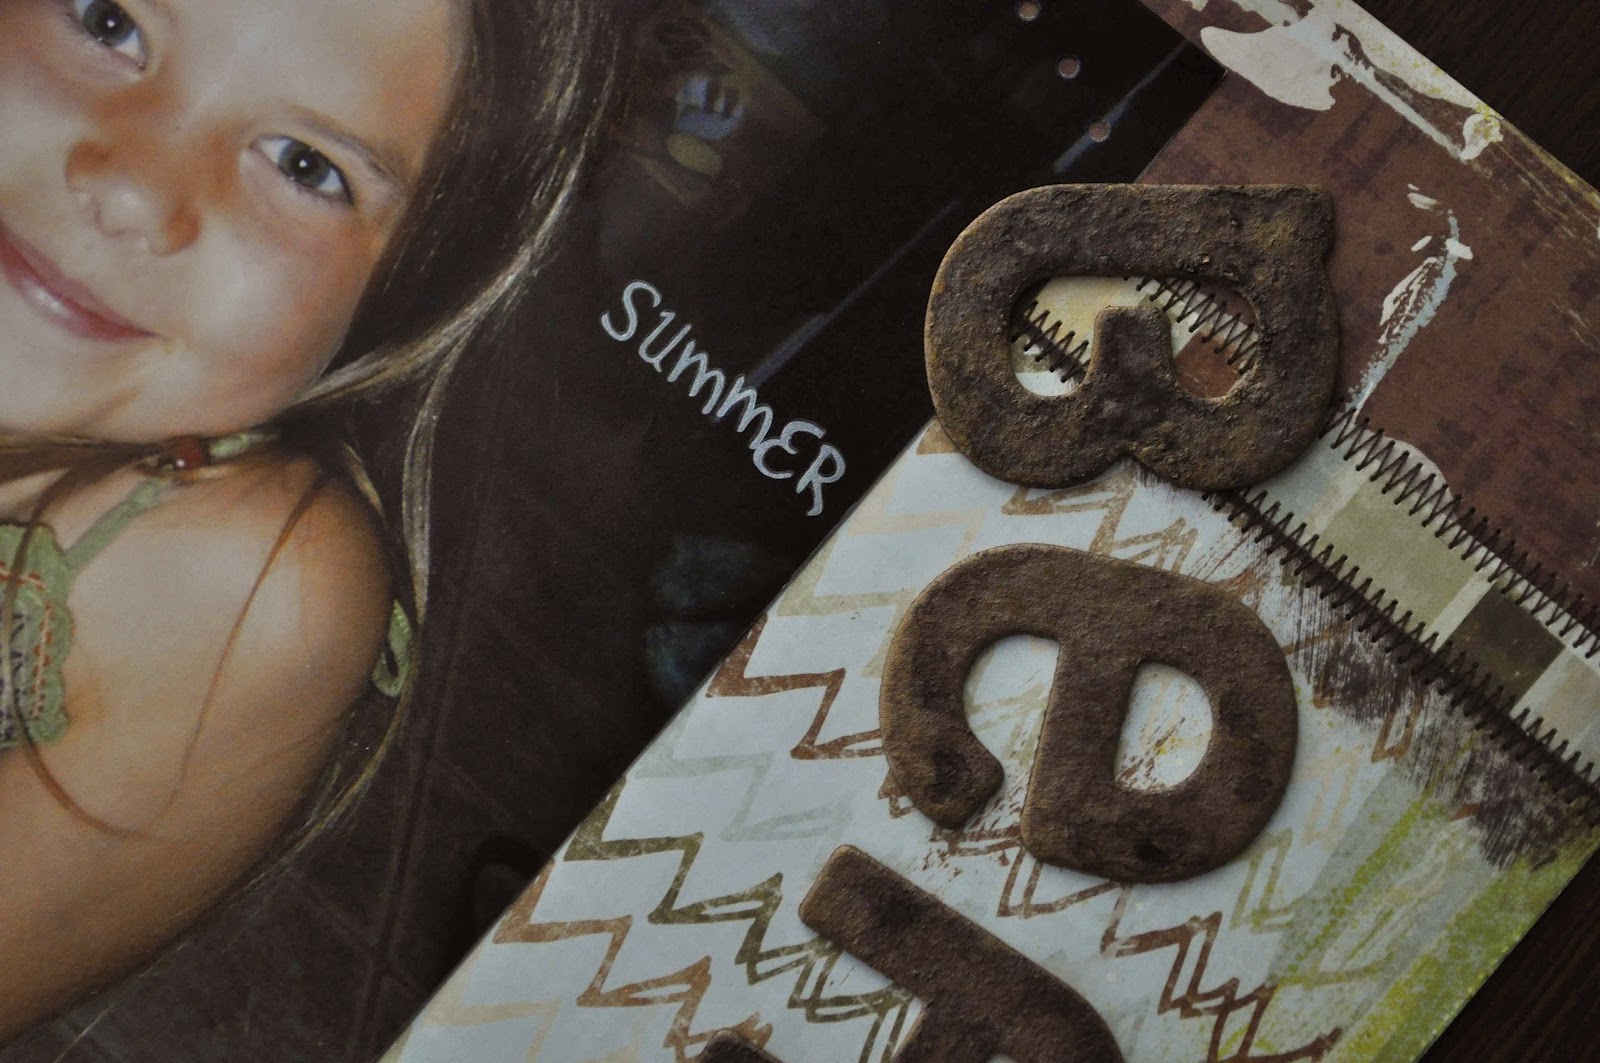
SUMMER

Well summer as hit my home full on and that means that some things get put on the back burner, such as housework, scrapbooking, my blog... There is just so much to do to enjoy this weather while it is here, so sitting indoors just doesn't happen alot! But I started catching up yesterday on the things that have been forgotten, such as my filthy bathroom and some vacuuming! Having only one bathroom at the moment (as my husband renovates the other) is a little tricky. I am just thankful my daughters aren't home for this month or there could be all out war!

The last few weeks I have been busy with the yard work, keeping my son entertained, enjoying the sun, planning summer getaways and coordinating a crop at the store. Yyyaaayyyy!! At the end of this month we will be having a two-day retreat as a fundraiser for the Saskatchewan Burn Fund. It is going to be an awesome event!! Just what we need... an excuse to scrapbook and help a great cause at the same time! For anyone who is interested in attending, please let me know or stop by the store to register. 
You can get the full details for this event by clicking HERE!

I never realized just how much work goes into fundraising and I now have a new respect for the amazing people that do it all the time! But it has been exciting to get it all prepped and I am looking forward to seeing it all come together.

If you are unable to come to the event there are still opportunities that you can contribute and get in on some of the fun! There will be a basket of handmade cards at the store that will be for sale throughout this month with all the money going towards the Burn Fund. Also, on the day of the crop we will have a raffle table set up with loads of awesome prizes, so stop in and purchase some tickets and get your name in for a chance to win!!
We are also working on getting a BBQ organized so be sure to keep an eye out for more details on that!

And now for some projects that I was able to get done before school ended and summer took over my life! 


The Teresa Collins Everyday Moments collections is one of my absolute favorite lines ever!!! I love the yellow, blue, grey and white color combo! I would probably have to say that Teresa Collins is one of my most favorite scrapbook product designers!

This picture was taken last summer while on vacation in Manitoba visiting my bother & sister-n-law. And the paper worked perfectly with the colors in the photo.


I love being able to cut out different elements from the pattern papers and using them as embellishments. I am just not a sticker person, so paper elements work great for me! And then this way you can make embellishments that match perfectly with the rest of your layout.


The banners in the above picture are actually tucked under the quote that was on the background paper. I just cut slits in the paper using a craft knife above and below the words and slid the banner through. That way I still can see the quote.

The next piece was something I did up for the store using Inky Antics Honeycombe paper. I have to admit that when I first saw this unique paper, all I could think of was those tacky wedding bell decorations you see at weddings. It wasn't until I watched a Tim Holtz video on YouTube that I was able to see the possibilities!


The background of the canvas was made by laying down a chicken wire stencil from Crafters Workshop and spraying with a glimmer mist. I then painted on some glimmer glam from Tattered Angels.

I cut the dress form from chipboard and then from the honeycombe paper. I colored the chipboard piece with a brown ink and then attached the honeycombe dress form piece.


I inked the dress form with brown ink and then adhered tulle and lace using a hot-glue gun to make the skirt (the tulle is under the lace to make it a little more poofy) and tied on some hemp string for a finishing touch.


So give this product a try and I would love to know what you think of it!
Thanks for stopping by!

Thursday, 14 June 2012

RAIN, RAIN, GO AWAY!

I love a good rainy day every once and awhile! You know, to make everything fresh and green. I love the smell of rain and the sound of it falling. There is just something so very relaxing about it. It also gives me a real good excuse to do some scrappin! 
But this never ending rain that has been going on for days now, is just getting plain depressing!! And then add on the fact that I have been miserable with this cold/flu/allergy thing I got going on!! Needless to say, it's time for some sunshine already!! Besides, my jungle needs to be mowed!! I am scared that by the time I get the lawn cut, I will have lost one of my children in it!! LOL
I guess this is payback for the fabulous short, warm winter we had! (I would gladly take the rain over the never ending snow and 40 below temps anyday!)

Well enough whining about the weather. On to some much better things such as scrappin!! 

So I think previously I had posted about a surprise party that I had helped put together for my awesome friend Ivana, and I may have mentioned that I had made her a fabulous little card and forgot to take any decent pictures of it so that I could show it off! Oops! Well Ivana, being the amazing friend that she is, took some pictures of it for me, did some incredible editing work using photoshop (which I have yet to master!) and sent them to me! YYYAAYY!


For those of you who don't know Ivana, she is an incredibly special and talented gal! I am so grateful to have her in my life as one of my besties! You can click here to check out her blog!

I loved making this card!! 
I have to say I was quite proud of myself and how well it turned out! 
I used a variety of different "leftovers" from my stash. I started by making a card base from a 5x7 piece of chipboard and covering one side of it (which would end up being the inside of the card) with a pattern paper (I believe it was a Pink Paislee PP). I then created the wrap around piece using a clear transparency. I traced a scalloped edge on both sides that folded in and then smudged a layer of watered-down white paint to give it a more faded, vintage, shabby chic look.


I fussy cut a bunch of paper embellishments for the front and layered them on. And by having the paint smudged on, the adhesive I used for the paper embellishments really didn't show through the other side. I then just used a white sheer ribbon to hold the card closed.


After having wrapped the ribbon around, I then adhered another piece of the pattern paper to the back. This covered the ribbon to hold it in place and it also hid any adhesive I had used to adhere the inside chipboard piece to the transparency. I then folded a white paper doily over the top so that half was adhered to the front and the other half to the back. 
Because I didn't leave alot of space on the inside of the card for everyone to write there sentiments and best wishes (there were quite a few of us that went in together to purchase Ivana a gift card), I came up with the idea that everyone would get a small little journaling card to write there sentiments on. I then attached a cute clothespin to the back and clipped the journaling cards to it.


For the inside of the card, I colored and then adhered chipboard letters onto the doily to spell Ivana's name. Canvas Corp has these fantastically cute, little mini paper bags that I decorated, with more little fussy cut paper embellishments and adhered to the inside of the card to place the gift card I had purchased.

Well I am off now to try and create a man card for my husband for Father's day this weekend! Enjoy the rest of your week!!

Tuesday, 12 June 2012

Why Does This Have To Mean War!!

Good Morning Everyone! I sure hope your day started off better than mine! If any of you have or had a teenage daughter you might understand what I mean! 

First I must apologize for not having posted in awhile! It seems that whatever kind of bug that has been passing through got a hold of me and it's been kickin my butt hardcore! After having lost my voice for most of last week (which my family and friends got a kick out of! LOL), this cold then moved onto the rest of my body and did it's thing! Yyyyaayyy! NOT! And then when I thought I was getting better, I woke yesterday morning with the worst migraine I have had in a long time! I literally couldn't move off the couch. This however resulted in my daughters attitude which is why this morning was all out war! 

So this morning when I woke up and was feeling much better (with just a bit of a migraine hangover), I felt my daughter needed to understand that she couldn't get away with the way she had treated me and my son yesterday and that there was going to be consequences. And I am sure you can all guess how well she reacted to that. Needless to say, she is grounded and non to happy about that! Thankfully she is at school for the rest of the day and the war can have a rest for a bit.

Now I know that you all know that even though our children can bring out the absolute worst in us at times, they can also bring out the absolute best in us too! So I decided that today was a good day to look back on those good days and just remember why I love my kids so darn much!


This is a layout that I had done when my daughter was 8 (She's almost 13 now!) and she was such a beauty! And she still is of course, but with a bit of attitude to go along with it!

 I look at this layout now and want to chuckle a little. I can't even remember what company the paper was from. LOL. I know it was when Glimmer Mist was first coming out because I was so excited about how the letters turned out for my title.


I was also excited because I got to use this cool new Crafters Workshop template that I had purchased. It was great for creating the circle of dots I have in this layout. It was a 12x12 template that had a range of different sized circles. Click HERE to check it out! (You will have to scroll down to see the template. It is called "Dots All Around") I have actually used this template quite a bit. It works great for placing all sorts of embellishments in a circle pattern, such as liquid pearls, rhinestones, brads, eyelets, buttons, etc.


For the title I had used Basic Grey chipboard letters and Glimmer Misted the heck outta them! LOL! I can't remember the colors I used, sorry! But the more layers I put on, the more textured it got and the end result was great! (Actually, now that I'm thinking on it, I may have used a gold paint dabber on the letters first before misting them.) I also used a stitched pattern rub on to get that look of having sewn on the page without actually having had to pull out my sewing machine. Because lets face it! I never would have thought to do that back then! Lol!

  This layout was not my first layout but it did mark the time when I was starting to branch our from just sticking down my pictures and adding a sticker or too! (EEK!) And from then on I was all about trying new products and putting more into my layouts. I love the look of dimension on my pages and using different products to add texture. It just adds more fun and creativity to my layouts. 

Just like how my daughter adds more interest to my life and keeps me on my toes! :D

Thursday, 31 May 2012

More Family!!

I'm so excited to announce that I'm going to be an Aunty again!!! I think what excites me the most is that it's not me having the baby! Lol! (Sorry Carmen! :D)
So with a new niece or nephew on the way (I'm secretly hoping it's a girl! We haven't had a baby girl in the family in 11 years!!!), I got motivated to scrap some pictures of two of my youngest nephews! 

For anyone who hasn't seen the newest PRIMA lines, then you absolutely have to go check them out!! They are stunning!! 
Click HERE for the link to the PRIMA site or stop by the STORE to see them in person!

The line I used for the following layouts is the "EN FRANCAIS" collection. It was so cute with it's vintage rocking horse and the colors were perfect for the pictures!
 

I used a white paint dabber called Snow Cap (I like the RANGER dabbers best!) to give the photos an etched look. I love using this technique to give an aged look to my projects. All I do is drag the dabber along whatever edges I wanted etched and then let dry, which really doesn't take long depending on how thick you put the paint on. I find the best way is to start out with a light hand, then if it's not enough paint you can go over it again with a little heavier hand. You may want to practice with some scraps first to get a feel for how it works!
Another thing you may need to do once in a while if you are noticing the dabber not transfer paint,  is prime your dabber. You can do this by squeezing the bottle and dabbing it onto a scrap piece of paper. This helps to get the paint flowing into the sponge top.


The title was created using the "WALL DECOR AND MORE" Cricut cartridge. This cartridge is great!! It has so many fantastic shapes and sayings, plus it has the alphabet and numbers in several different fonts!! 
I then distressed the edges with the white paint dabber, outlined it with a blue fine-tipped marker and then pop-dotted it to the page.


 If you don't know this about me already, it is that I LOVE to cut out different paper bits and use the pieces as embellishments, such as the tickets I used on the layout below.


Because the paper is designed so well, you really don't need to add much to it which is a great way to save time and get more done!!
 

Again, another layout using cut-out paper elements. Look at those cutey little boys! We make some cute lookin kids in our family! LOL
 

I also partially cut out some of the different elements of the background piece (such as the rocking horse) to tuck the photo and other embellishments behind.


I look forward to having another cutey in the family to scrapbook!! And Carmen, try to make it a little more feminine this time!! LOL!

Thanks for stopping by!

The Great Outdoors...

Hi Friends! Just trying out this blogging thing again! :D I wanted to share some layouts I did this past weekend while attending a fu...